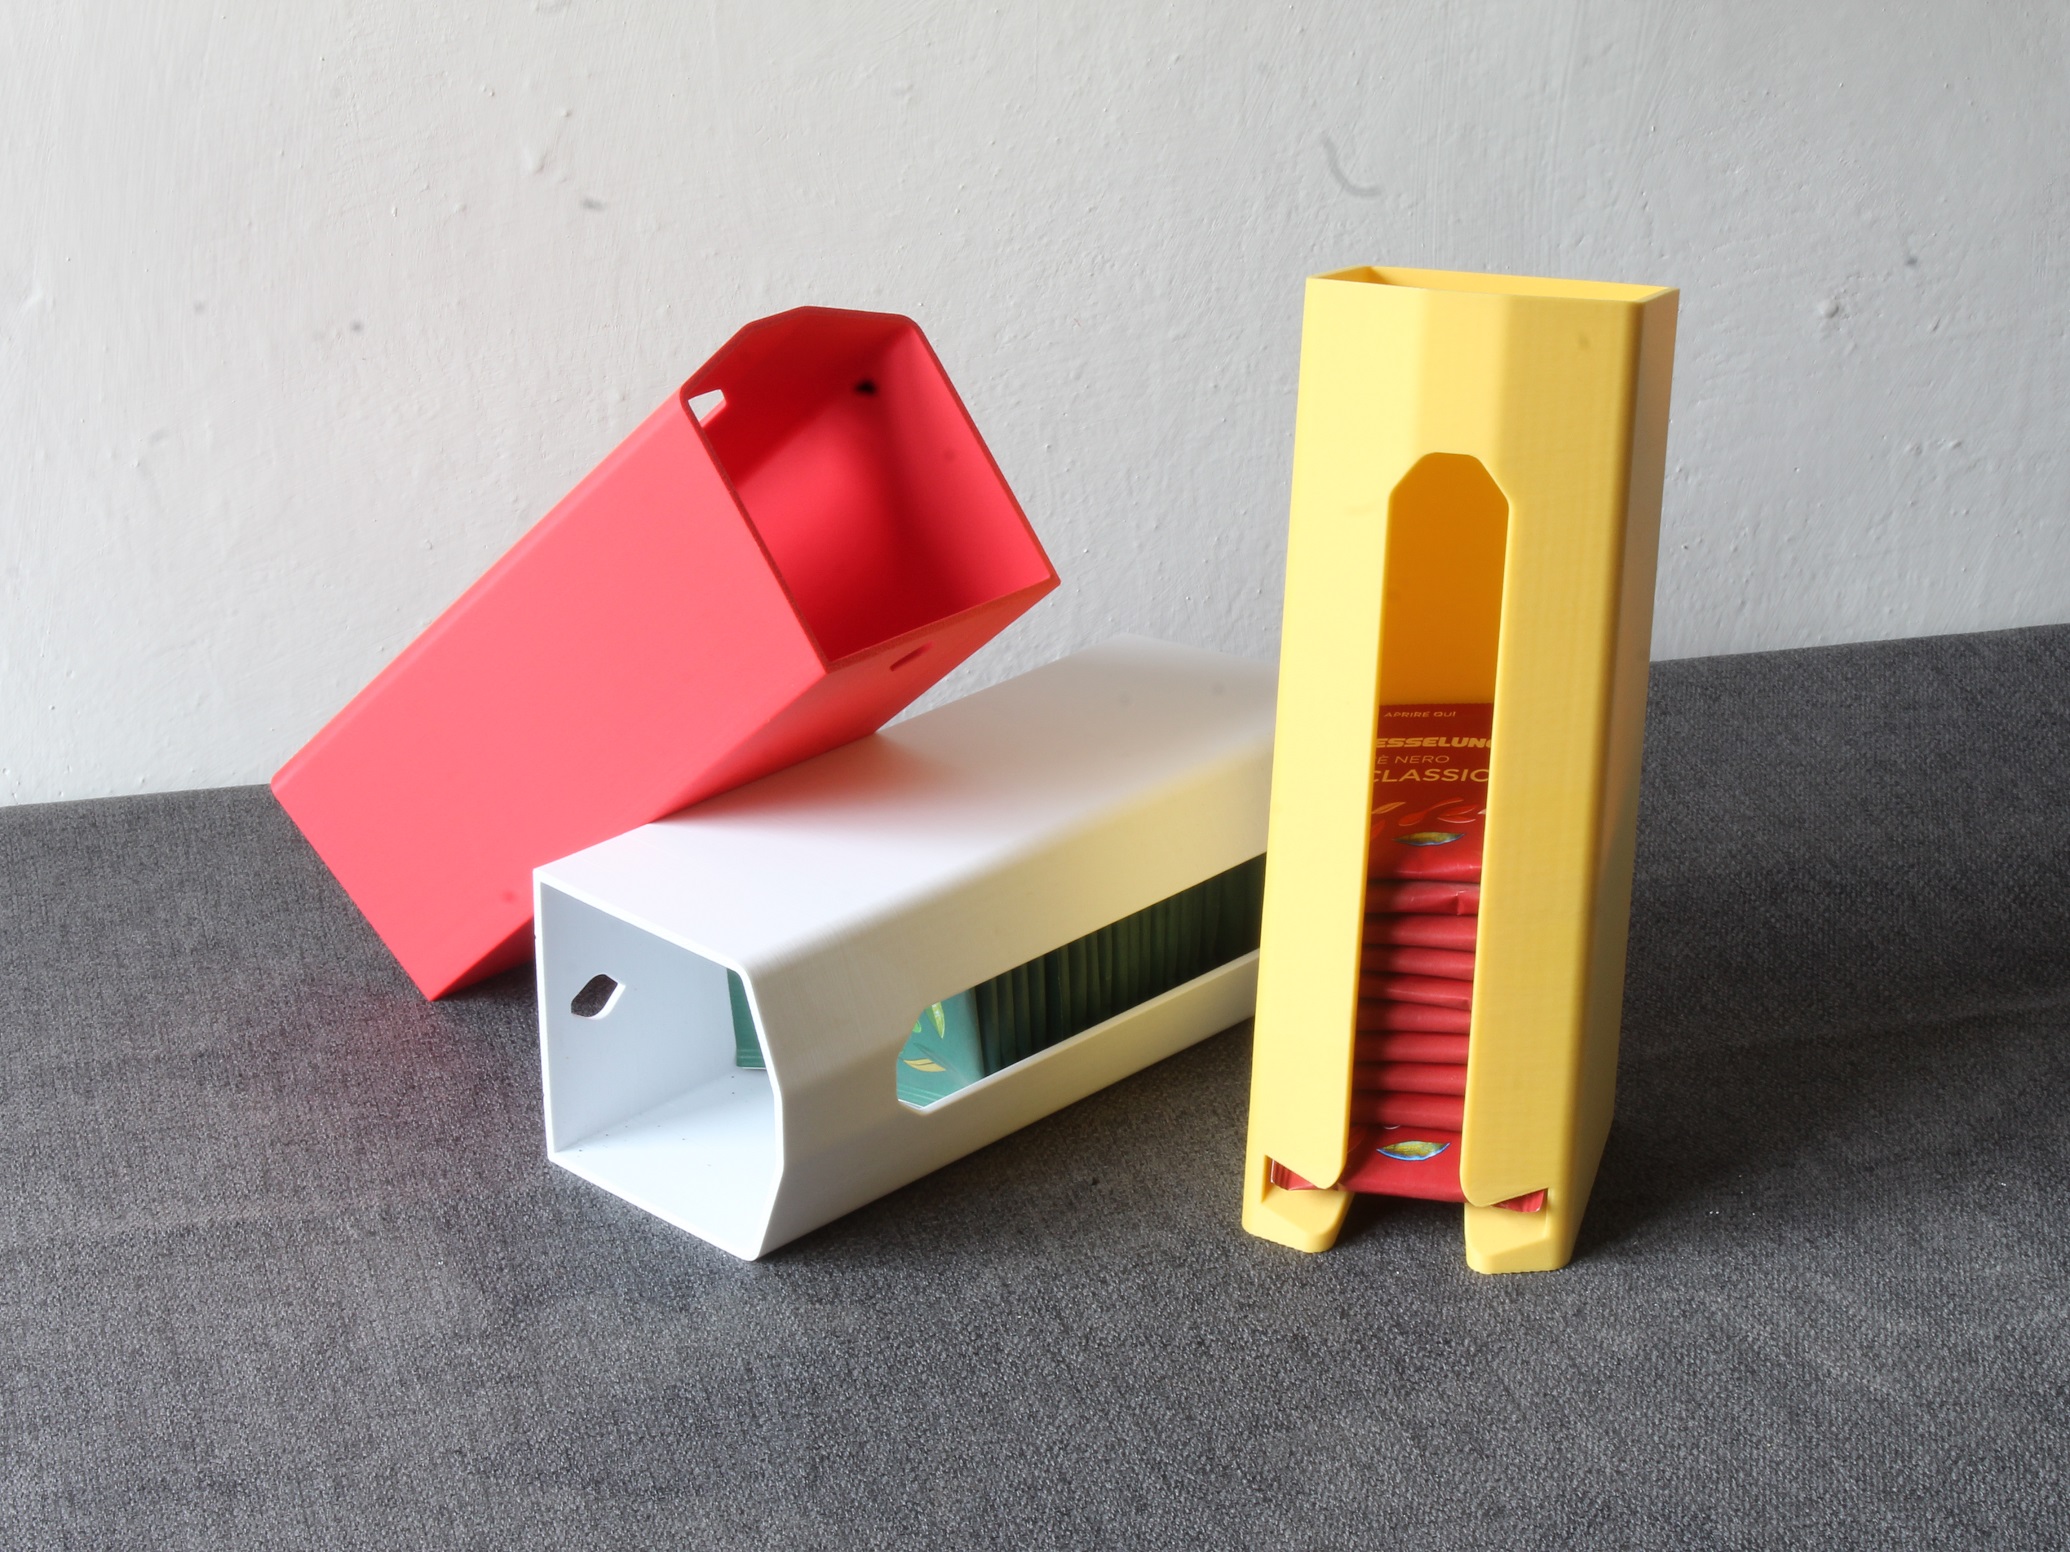
3D-Printed Master Patterns for Silicone Molds
Getting the finish, shrinkage, and cure right — the version of the process that actually holds tolerance.
Silicone tooling is one of the best bridges between a CAD file and a small run of real parts. But the printed master is where most of these projects go wrong — not in the printing, in the three decisions that happen right after: finish, shrinkage, and silicone chemistry.
Choosing a Print Process for a Mold-Ready Master
Both FDM and resin (SLA/DLP) masters work. The choice comes down to how much finishing you're willing to do.
FDM is faster to iterate and cheaper per part, but you're fighting layer lines from the start. At 0.12–0.16mm layer height on a well-tuned machine, the lines are shallow enough to sand out in 20–30 minutes of work on a palm-sized part. Below that quality, you're spending an hour or more per master just leveling the surface before you even start polishing.
Resin gives you a near-finished surface straight off the printer — no visible layer lines at typical 0.05mm layer heights — which matters a lot on curved or organic geometry where sanding flat facets is nearly impossible to do evenly. The tradeoff is print volume and cost per part, and resin masters need a specific finishing step FDM masters don't: getting uncured photoinitiator residue off the surface before it touches silicone.
For anything with flat or gently curved faces and generous size, I default to FDM. For small, detailed, or heavily curved masters — jewelry, ergonomic grips, badge details — resin wins even with the extra post-processing step.
Silicone is an excellent negative — it will faithfully copy every visible layer line, sanding scratch, and fingerprint on your master into the mold cavity, and from there into every part you cast. If the final part has a textured or matte finish, layer lines under about 0.1mm are often invisible. If it needs a Class A or glossy look, the master needs to be polished to that same standard, because silicone doesn't average anything out — it's a 1:1 copy.
Finishing the Master: the Sanding Sequence That Actually Works
For a presentation-quality master, I go through this progression:
220 grit
Knock down the worst of the layer lines and any support scarring.
Filler primer (2–3 light coats)
Automotive-grade works well, sanded back with 400 grit between coats. This is the step people skip, and it's the one that fills the microscopic grooves sanding alone won't remove.
600, then 1000, then 2000 grit
Wet-sanding from 600 up, rinsing between grits so you're not dragging coarse particles into the finer pass.
Plastic polish compound
On a soft cloth or buffing wheel for a final gloss if the part calls for it.
Skipping straight from 220 grit to polish compound is the single most common mistake I see — it burnishes the layer lines instead of removing them, and they show up as faint ghost lines in the finished silicone cavity under raking light.
The Shrinkage Stack You Can't Skip in CAD
There isn't one shrinkage number in this process — there are two or three, stacked, and if you only account for one you'll be out of tolerance on the final part.
Platinum-cure silicone
Shrinks very little, typically around 0.1%. For most parts this is close enough to ignore.
Tin-cure (condensation-cure) silicone
Shrinks more — often 0.5–1%, and keeps shrinking slowly for weeks after demolding. If you're holding a tolerance tighter than about ±0.3mm, tin-cure is the wrong silicone regardless of cost.
The casting resin or urethane
Has its own shrink rate — commonly 1–2% for polyurethane casting resins — and that number compounds with whatever the silicone already did.
For tight-tolerance work, scale the CAD model up by the combined shrink factor before printing the master. Casting a 1.5%-shrink polyurethane through a 0.1%-shrink platinum mold means the master needs to be roughly 1.6% oversized in the dimensions that matter. Print a quick calibration cube alongside the master and measure it after casting — one extra print run beats scrapping a finished mold.
Tin-Cure vs. Platinum-Cure — and the Inhibition Trap
This is the failure mode that catches people who've done this successfully with wood or clay masters and assume 3D-printed masters behave the same way.
Full post-cure the resin master
Follow the resin manufacturer's stated cure time and process — over-curing makes the part brittle but under-curing causes inhibition, so err toward the manufacturer's number. Wash it thoroughly before it ever touches silicone.
Seal the master, regardless of print process
A couple of light coats of clear acrylic lacquer or a dedicated mold-release/sealer over the finished surface acts as a barrier between residual print chemistry and the silicone. Some resin manufacturers publish specific guidance on which sealers are compatible with platinum cure — worth checking first.
Tin-cure silicone is forgiving, cheaper, and tolerates most master materials including uncleaned 3D prints. It's the safer default if you're not sure which chemistry to reach for.
Platinum-cure silicone gives better dimensional stability, longer mold life, and food-safe options — but it's a hydrosilylation cure, and it's chemically inhibited by sulfur compounds, amines, and — critically — the leftover photoinitiators in improperly post-cured SLA/DLP resin prints. Pour platinum silicone against a resin master that hasn't been fully post-cured and washed, and you'll get a mold surface that stays permanently tacky or never fully cures at all.
FDM masters printed in PLA or PETG don't carry the same inhibition risk as resin, but I still seal them — it makes demolding the master easier and protects the polished finish from repeated pours.
Draft Angles and Mold-Box Design for a Printed Master
Silicone is flexible enough to pull off masters with zero draft that would be impossible to demold from a rigid tool — that's the whole appeal. But a slight draft, even 1–2 degrees on vertical walls, still makes a measurable difference in how easily the master releases from the cured mold without tearing thin silicone webs around undercuts, and it reduces wear on the mold over repeated pulls.
Keep parting lines away from any surface where a seam line would be visible or would need cleanup on every cast part. Build the mold box with at least 10–15mm of silicone wall thickness around the master in every direction — thinner walls flex too much during pouring and casting, which shows up as dimensional drift after a few pulls.
From One Mold to a Small Batch
This whole process is really a bridge, not an endpoint. A single well-made silicone mold from a printed master will typically give you anywhere from 10 to 50+ usable pulls depending on the silicone, the geometry, and how aggressive the demolding is — enough for a pilot run, a trade show batch, or a limited product drop. Beyond that volume, it's usually the point to look at RTV production molds, low-volume injection tooling, or CNC'd aluminum tooling instead.
Knowing where that line sits for a specific part — and getting the master's CAD, tolerances, and shrink compensation right before it ever gets to the printer — is most of what separates a mold that works from one that needs to be reprinted. If you're mapping out a CAD-to-production workflow for a part that will eventually need this kind of bridge tooling, it's worth getting the DFM decisions locked in before the first master goes on the print bed.
If you'd rather send the file than run this yourself, I print and finish masters and pull short-run silicone molds as part of the 3D printing and prototyping services I run out of the Turin/Asti area, and I work with clients remotely across Europe.
Need help with your 3D print?
The Makehasdai team prepares and prints your files — FDM, SLA and SLS. Shipping across Italy in 2–5 working days.